
A passkey replaces the password you type with the unlock you already use: your fingerprint, your face, or your device PIN. Instead of a secret that can be phished or reused across sites, your device holds a private key that never leaves it, and the website holds the matching public half.
The three big consumer accounts — Google, Apple and Microsoft — all support passkeys now, but each puts the setting in a different place. Below are the official steps for each, followed by the parts people get wrong.
Before you start
- Use the device you actually carry, and only devices you own and control.
- Keep at least one recovery method on the account — a phone number, a backup email, or a second device with its own passkey.
- Do not create a passkey on a shared computer, a work kiosk or a borrowed phone. Google says plainly that once a passkey exists, anyone who can unlock that device can get into your account.
Google: create a passkey in about a minute
- Go to myaccount.google.com/signinoptions/passkeys while signed in.
- Select Create a passkey.
- Unlock your device with your fingerprint, face or PIN when prompted.
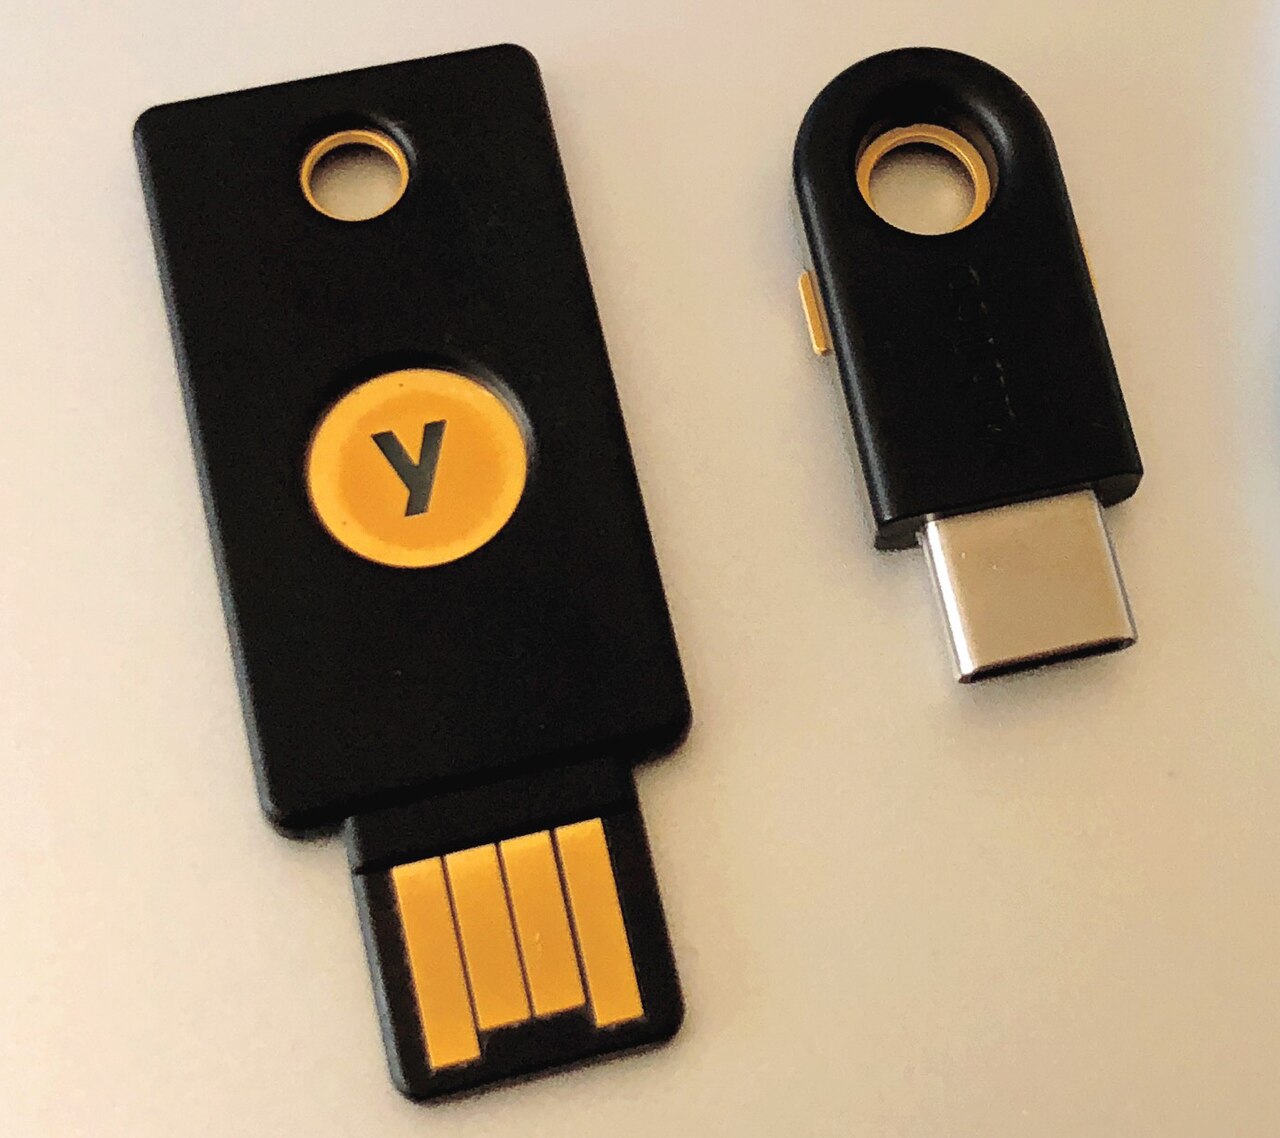
Repeat the steps on each device where you want a passkey, or add a hardware security key by choosing Use another device and following the prompt — the key must support FIDO2. One caution from Google’s own help page: a newly created passkey may not appear at sign-in for up to seven days. If you are about to travel, add it before you go, not the night before your flight.
Apple: passkeys live in iCloud Keychain
Apple stores passkeys in iCloud Keychain, so they work across every device signed in to the same Apple Account (iOS 16, iPadOS 16 or macOS 13 and later). iCloud Keychain must be turned on first.
- Sign in to the account you want to upgrade, with your existing password.
- On a Mac, open System Settings, then Passwords; on iPhone or iPad, open Settings, then Passwords.
- Select the account, then choose Change Password on Website and follow the site’s prompt to create a passkey.
To sign in later, enter your account name on the site’s login page, pick the account from the suggestions, then confirm with Touch ID, Face ID or your device passcode. If you are signing in on a computer without biometrics, Apple lets you use a nearby iPhone or iPad by choosing Other Options and Passkey from nearby device — Bluetooth must be on for both devices.
Microsoft: add a passkey as a sign-in method
- Sign in at account.live.com/proofs/manage.
- Choose Add a new way to sign in or verify.
- Select Face, Fingerprint, PIN, or Security Key.
- Follow the device prompt, then choose where to save the passkey: Microsoft Password Manager, another synced manager such as iCloud Keychain or Google Password Manager, a phone or tablet via QR code, a hardware security key, or Windows Hello on that PC.
Work and school accounts use a different route — mysignins.microsoft.com/security-info, then Add sign-in method, then Passkey — and your organisation can restrict which options you get. If your employer has not enabled passkeys, the option simply will not appear; that is a policy setting, not a bug.
The mistakes that cost people their accounts
Creating a passkey on a device you do not keep. A passkey on a friend’s laptop, or on a phone you are about to sell, is a key to your account sitting in someone else’s hands.
Removing every other way in. Keep a recovery email and a second device. If you lose the only device holding your passkey and have no backup, recovery goes through the provider’s account-recovery process, which can take days.
Assuming passkeys kill phishing by themselves. They remove the password from the login, which takes away the most common phish. They do not stop a fake support call, a malicious browser extension, or someone who already has your unlocked phone.
If you lose the device
Remove the passkey from the account rather than leaving it orphaned. Google lets you delete a passkey from the same passkeys page and warns that it may disable a passkey it considers suspicious, giving you 30 days to confirm you added it. Apple lets you remove a passkey from the Passwords app. Microsoft lets you delete a sign-in method from the same security page where you added it.
Then create a fresh passkey on the replacement device, and check google.com/devices or your provider’s device list for anything you do not recognise.
Where to go next
Once your logins are sorted, the next useful clean-up is usually the photo library — our guide to pinning and reordering Google Photos collections covers the new tab layout. If you also manage social accounts for work, our walkthrough of Threads’ advanced search filters saves time finding old posts.
What this article does not do
We did not test every device combination, and we have not included screenshots of menus that change between software versions. The steps above are taken from the current Google, Apple and Microsoft support documentation linked below; if your screen differs, follow the provider’s page for your exact version.
Sources
- Google Account Help: Sign in with a passkey instead of a password
- Google: Sign in quickly and securely with passkeys (October 8, 2026)
- Apple Support: Sign in to an account on your Mac with a passkey
- Microsoft Support: Create and save a passkey