
Setting up a streaming stick is not difficult, but it is easy to do in an order that creates extra work. The sequence below applies to Roku, Fire TV and Google TV devices, and it is designed so that each step leaves the device in a state the next step expects.
Before you start: what to have ready
- The TV remote, so you can change the HDMI input.
- Your Wi-Fi network name and password, typed correctly. Most setup failures at this stage are a wrong password, not a broken device.
- Your streaming account email and password. Have the password rather than relying on a reset link.
- An available power socket, if the stick came with a power adapter. See the next section for why this matters.
Step 1: Plug into the right HDMI port and power it properly
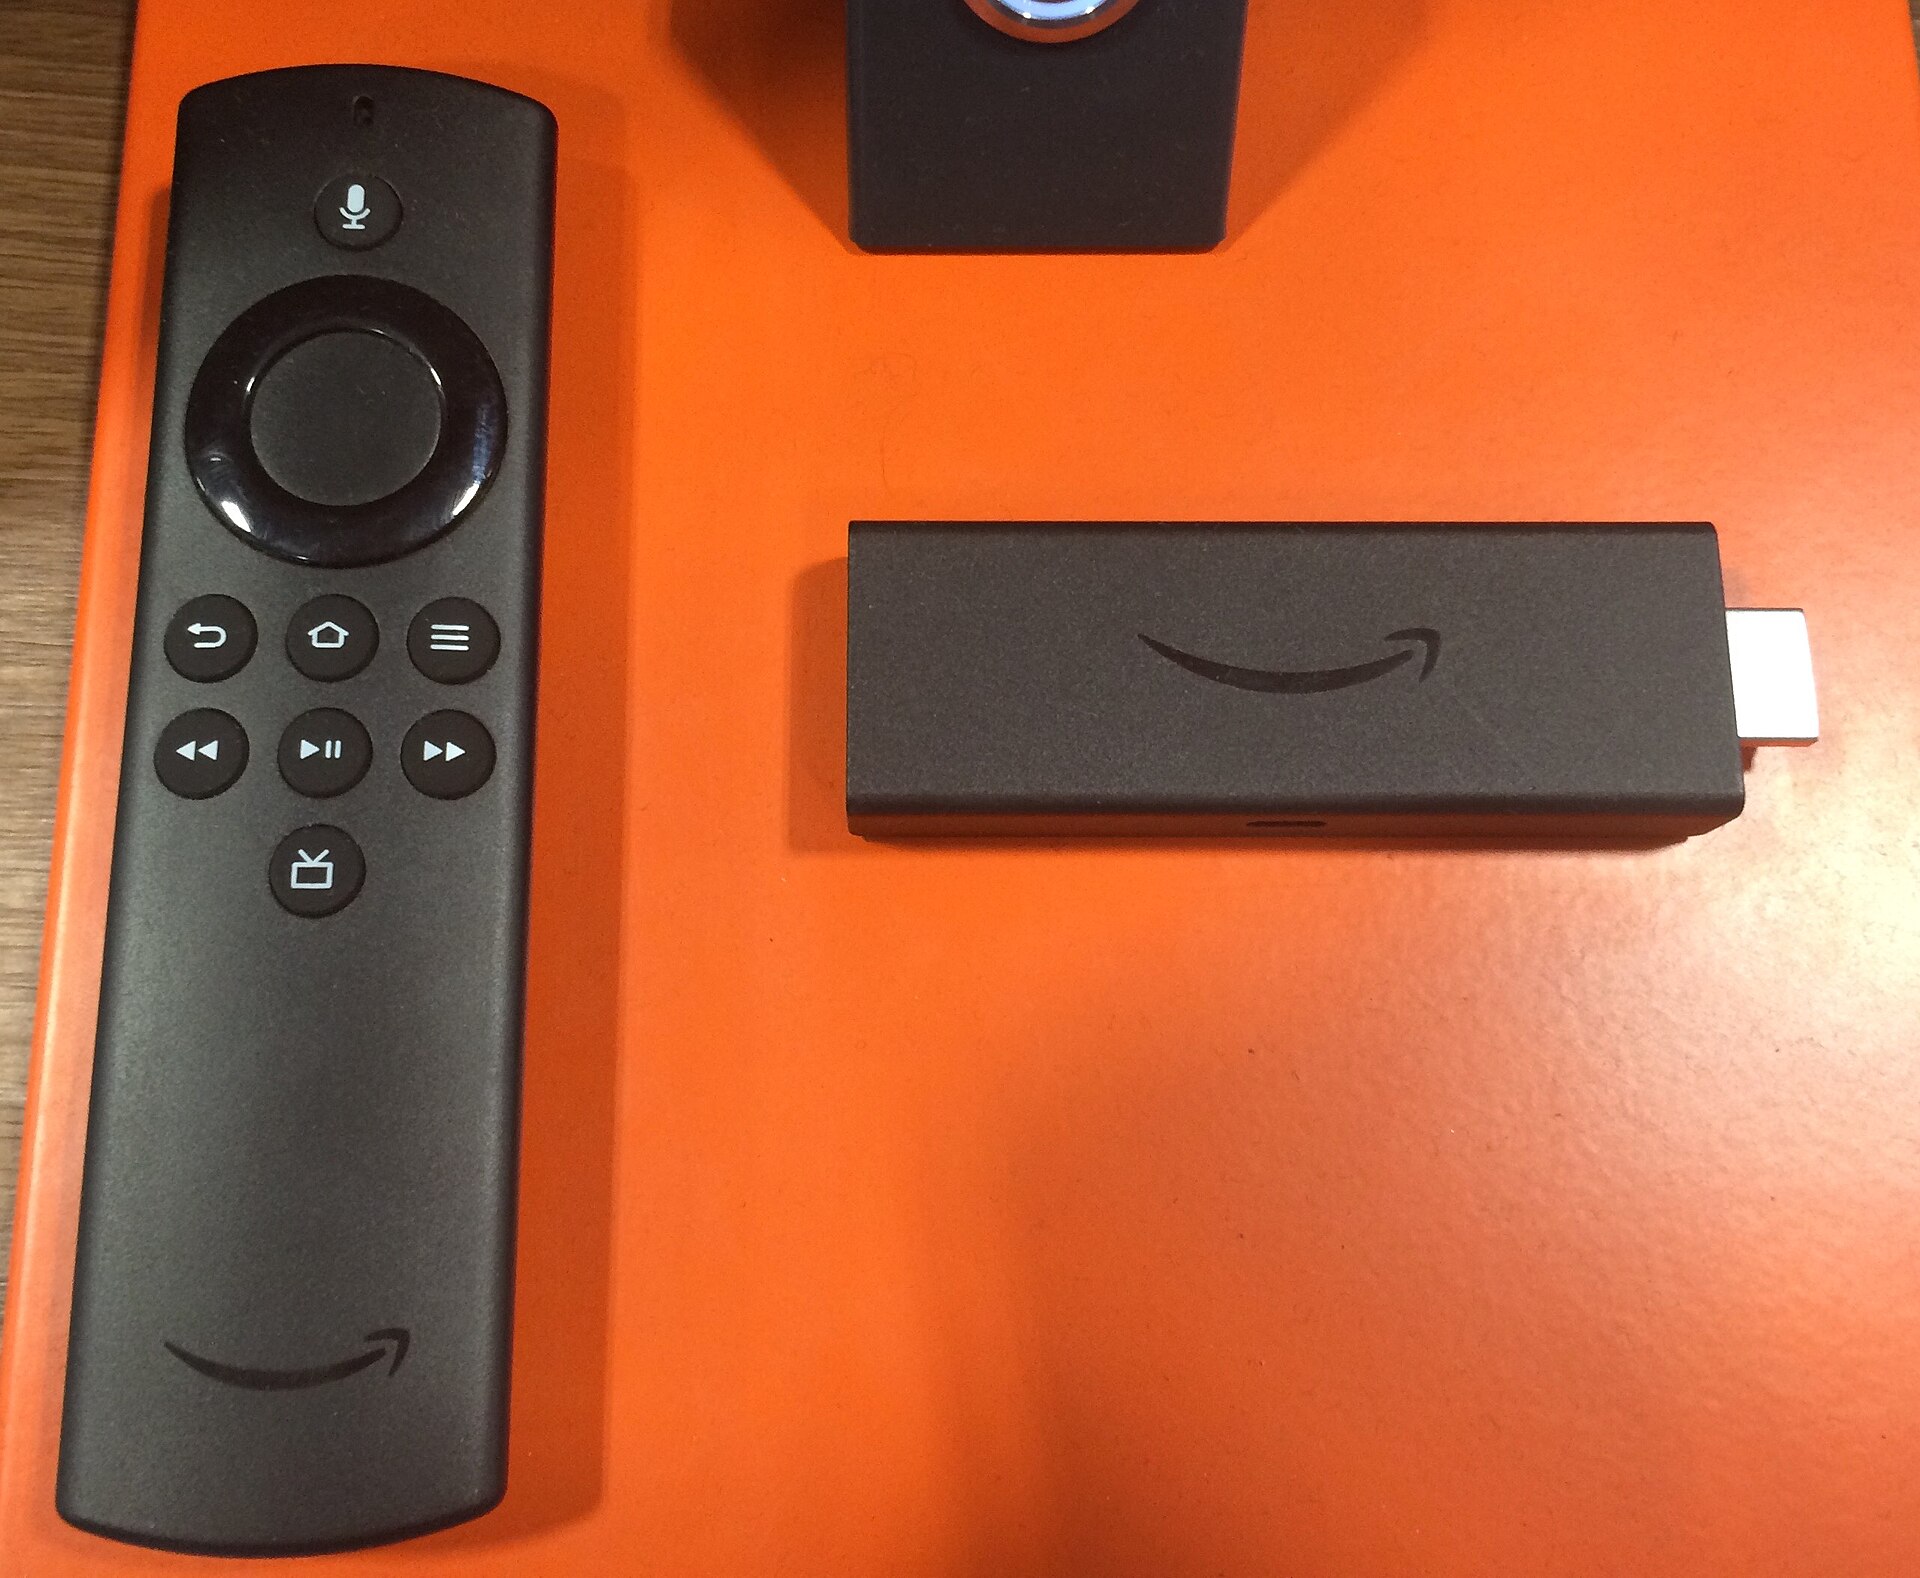
Connect the stick to an HDMI port, then switch the TV to that input. If the port is behind the TV and hard to reach, an HDMI extension cable is worth having — it also helps if the stick blocks a neighbouring port.
Then power the device. Many sticks can draw power from a TV’s USB port, but TV USB ports often supply less current than the stick needs. If you see random reboots, a device that drops off the network, or slow performance, plug the stick into its bundled power adapter instead. This is the most common cause of intermittent problems people attribute to the streaming service.
Step 2: Connect to Wi-Fi and choose the right band
Connect to your network during setup. If your router broadcasts both 2.4 GHz and 5 GHz under separate names, prefer the 5 GHz network when the stick is in the same room as the router, and 2.4 GHz when it is far away or through several walls.
The reason is not that 5 GHz is always faster. It is that 5 GHz has higher throughput but shorter range, while 2.4 GHz travels further at lower speed. Streaming in 4K needs sustained throughput, so the correct choice depends on distance.
Step 3: Sign in and finish the initial update
Sign in to the device’s own account, then let it complete any system update it offers before you install anything else. Setup wizards often run an update partway through, and skipping it means doing the update later under worse conditions.
This step takes the longest and is the one people try to rush. Let it finish.
Step 4: Install your apps, then sign in to each one
Add the apps you actually use rather than everything available. A device loaded with twenty unused apps has less storage for the ones you watch, and every installed app is a background service competing for memory.
Sign in to each app as you add it. Doing this now, while you are already in setup mode with passwords to hand, saves a second session later.
Step 5: Change the picture and audio settings now, not later
This is the step most people skip, and it is the one that changes what you actually see and hear.
- Set the display resolution to match your TV, rather than leaving it on an auto-detect that guesses wrong. If your TV is 4K, confirm the device is outputting 4K. If it is 1080p, do not force a higher setting — the TV will downscale and you gain nothing.
- Enable HDR only if your TV supports it. On a non-HDR TV, enabling it can produce a washed-out or overly dark picture.
- Match the audio output to your setup. If you have a soundbar or AV receiver, choose the correct output format. If you are using TV speakers, stereo or PCM is the safe choice.
- Turn on frame-rate matching if the device offers it. It reduces judder on film content, and it is usually a one-time toggle.
Step 6: Turn on the remote’s TV controls
Most modern streaming remotes can control your TV’s power and volume over HDMI-CEC, which means you can put the TV remote away. Enable CEC in the device’s settings and in your TV’s settings — both sides have to agree for this to work.
The setting most people regret skipping
Network connection quality is the single largest determinant of streaming reliability, and it is decided by where the stick sits, not by which service you use. If you finish setup and see buffering, revisit the placement and band choice from Step 2 before blaming the app. Our guide to fixing streaming stick buffering on Wi-Fi 6 routers goes deeper on that, and our ONN 4K Google TV setup guide covers the Google TV flow in detail.
Sources
- Roku Support, official setup guidance for Roku streaming players: https://support.roku.com/
- Google TV Help, “Fix problems with your Google TV device”: https://support.google.com/googletv/answer/10070482
- Best Buy, “How to set up a streaming device”: https://www.bestbuy.com/discover-learn/how-to-set-up-a-streaming-device/pcmcat1695916722650